
When taking over the front, maintain a steady pace – do not surge! The easiest way to maintain a constant speed is to check your speed (glance at your computer) right as the front rider pulls off. Ideally you will maintain the same speed when you take the lead. If you want to accelerate (for example as a response to a change in terrain) you should do slowly and gradually, always making sure that the group is still behind you.
Scan the road ahead for obstacles and rough patches.
Move the paceline clear of obstacles gradually and early and/or use voice and hand signals to indicate hazards.
Avoid sudden accelerations or decelerations.
Scan the road ahead for obstacles and rough patches.
When starting from a stop or out of a pinch point, build speed slowly, allowing the line to accelerate out smoothly.
Call out significant hazards: There is no need to call out insignificant hazards as the line will follow you.
Length of pulls: your time at the front will be dictated by the group’s norms and habits. Generally, shorter pulls are recommended to conserve energy.
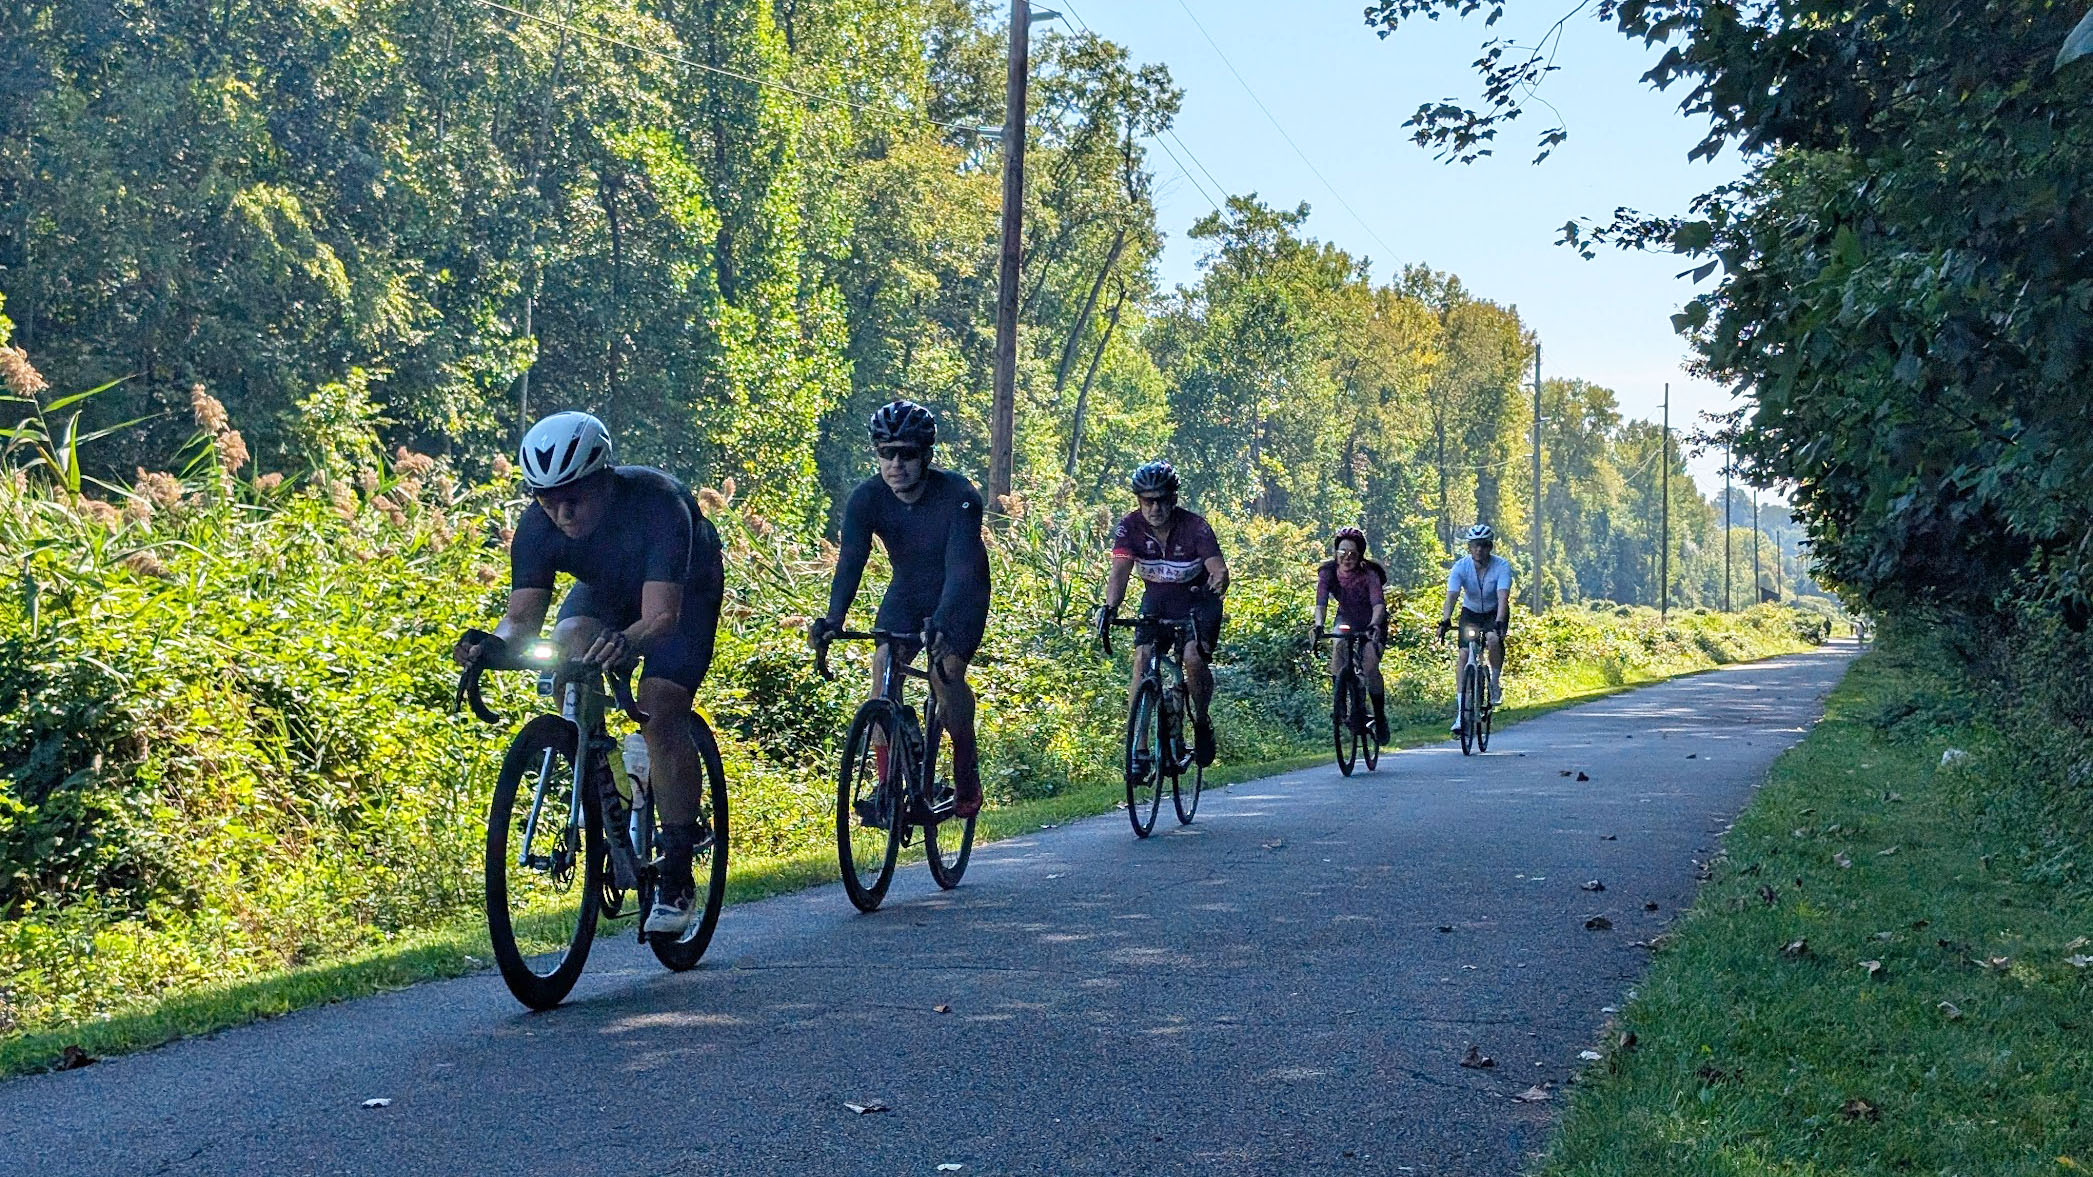
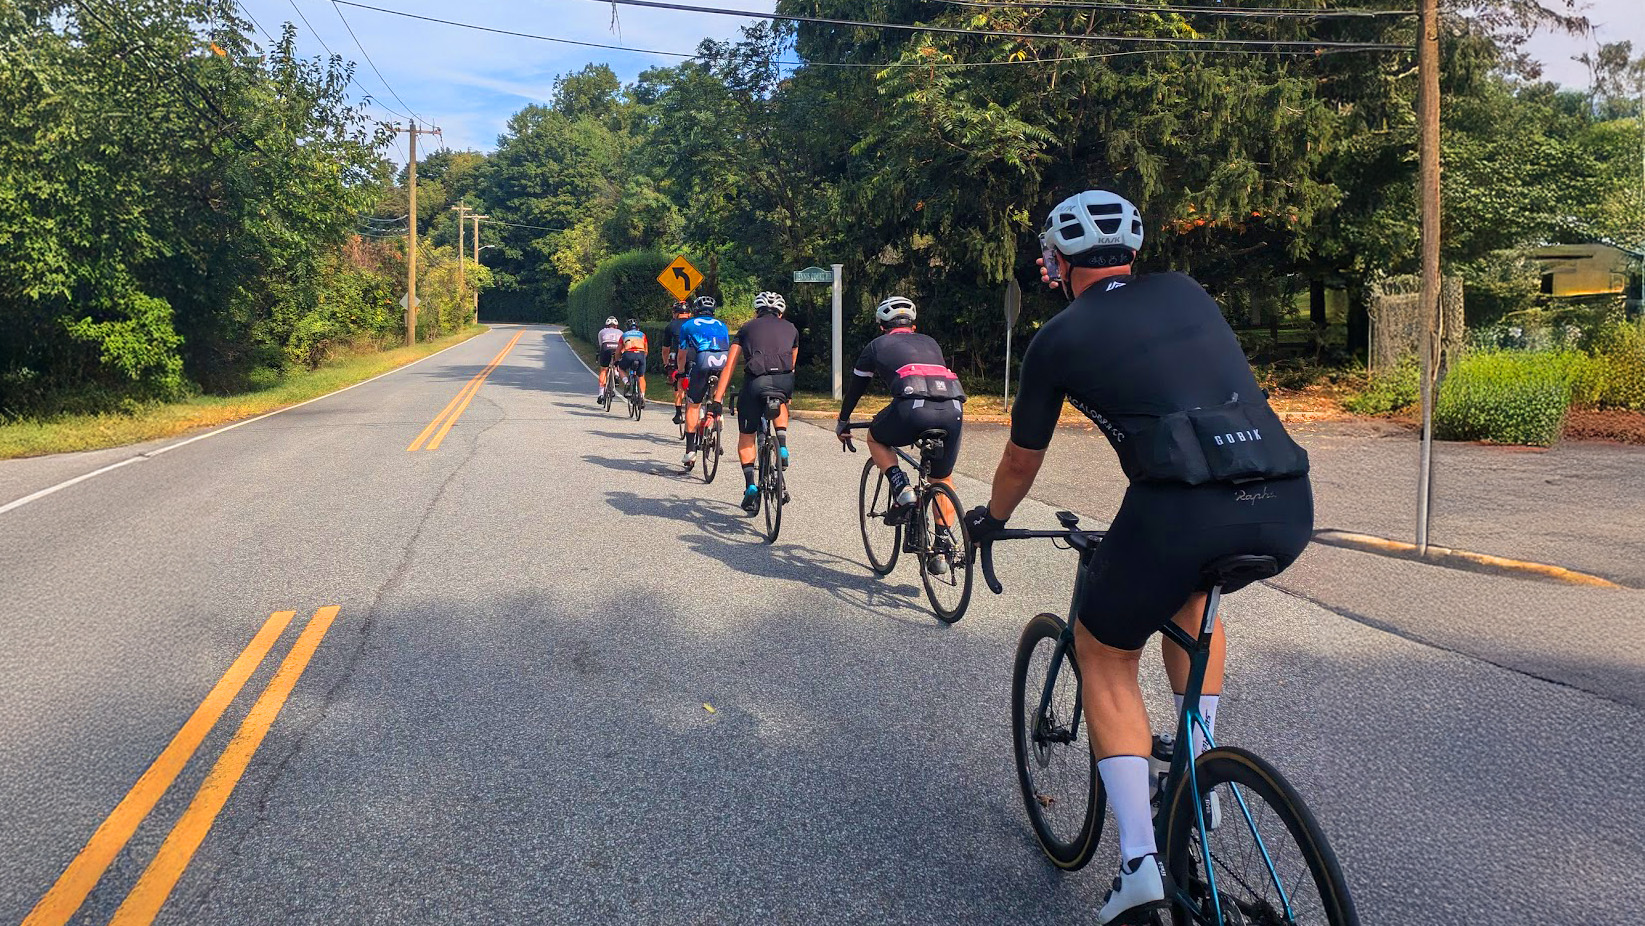
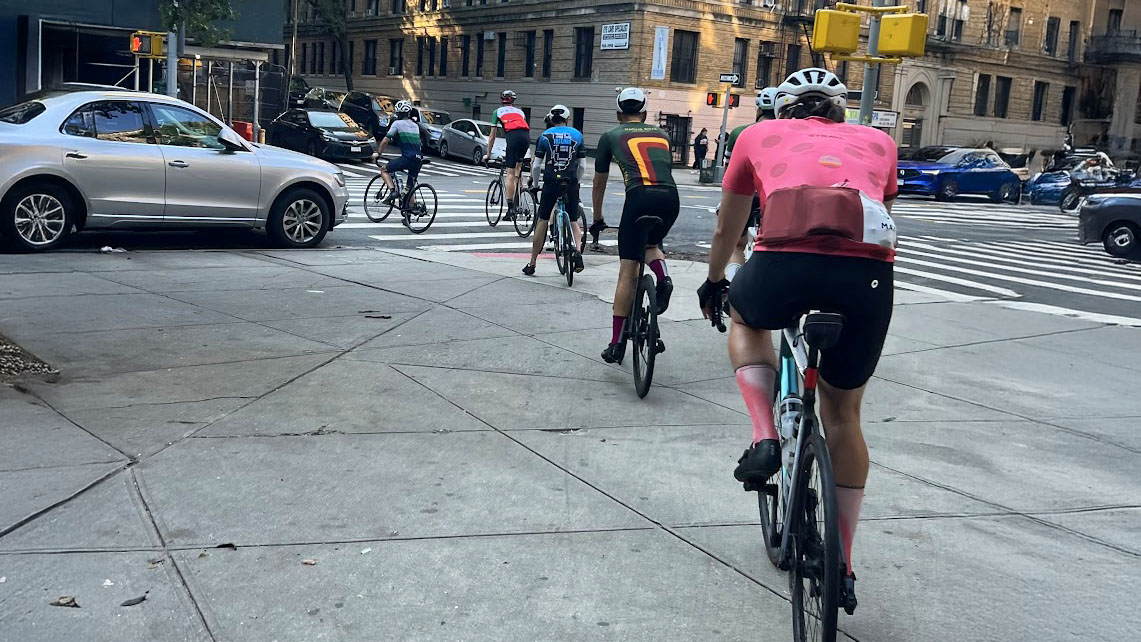
Stay close to the rider in front (about 6-12 inches between wheels): This blocks the wind for riders behind and helps everyone avoid obstacles; Use your shifters or feather your brakes to maintain a constant distance.
Avoid sudden movements such as aggressive slowing, this is a common cause of crashes.
Stay in line; do not offset: When riders move out of the line, it becomes more difficult for riders behind to avoid obstacles and get the benefit of the draft.
Never overlap your front wheel with the rear wheel of the rider in front of you: A shift in the wind or terrain could result in the rider in front moving over taking you down along with the riders behind you
Stay in line when slowing down and even when stopped: Staying in line when stopped makes starting smoother.
Use hand signals to indicate road hazards, turns, or stops. Announce “Slowing” when you need to slow down quickly.
Verbal cues like “slowing” and “car back” are crucial.
Pedal consistently/do not stop pedaling when in the paceline: Coasting sends a message to riders behind you that you are slowing down which causes a cascading or accordion effect in the line.
Soft pedal, feather the brakes, and use your shifters to make small adjustments in speed.
LOOK: Look back over your shoulder (whether left or right depends on the direction your group is pulling off in) before moving to rotate off – do not stop pedaling and do not slow down! This look back is a safety check, to determine whether you are clear to pull off.
SIGNAL: Signal your intention to the rider behind you by flicking your elbow (right elbow when rotating left, left elbow to rotate right).
ROTATE: move decisively to the left or right. Once you have pulled off you can slow down, soft pedal or stop pedaling and drift back toward the end of the paceline. Stay as close to the line as you safely can: swinging too far out can be dangerous. Let the paceline pass you and tuck in behind the last rider: Float back quickly – do not hang out next to the paceline as this is not a safe place to be; The last rider should call out “LAST!” so you don’t overshoot the paceline.
This requires thought. Remember that your job as leader in the paceline is to keep other riders safe and this also applies to your decision as to when to rotate off.
Don’t rotate during a climb or a fast descent but rather just before either of these.
Do rotate at the crest of a hill, or a little bit after, or on a long flat section of road.
Never rotate on a curve or if you don’t have sufficient visibility.
Don’t rotate if there is an obstacle or pinch-point coming up.
When rotating off, keep pedaling and maintain speed as you move to the side.
Assess the paceline’s condition (gaps, bunching, fatigue levels) as you rotate back.
This is a group activity – otherwise you’d be riding by yourself. If you are consistently surging out off the front when taking the lead then you are doing something wrong.
Always consider the riders behind you before slowing down.
Avoid unnecessary slowdowns as they can cascade through the paceline, causing riders further back to touch wheels and potentially crash.
If unsure about a turn or direction, maintain speed until the next safe opportunity to slow or stop.
Do not accelerate out of pinch points. Similar to fast accelerations from a stop, accelerating out of a pinch point where the line has slowed down makes other riders surge to keep up. It is always better to perform a quick shoulder check and make sure other riders are still with you before leading the group back to speed.
Always try to pass other cyclists on their left side: The exception is Central Park where faster riders pass on the right.
Alert slower cyclists by calling out “passing on your left” well in advance.
If in doubt about passing safely, call out “slowing” to your paceline while gradually reducing speed.
Smooth is fast and safe. Prioritize safety over anything, especially speed.
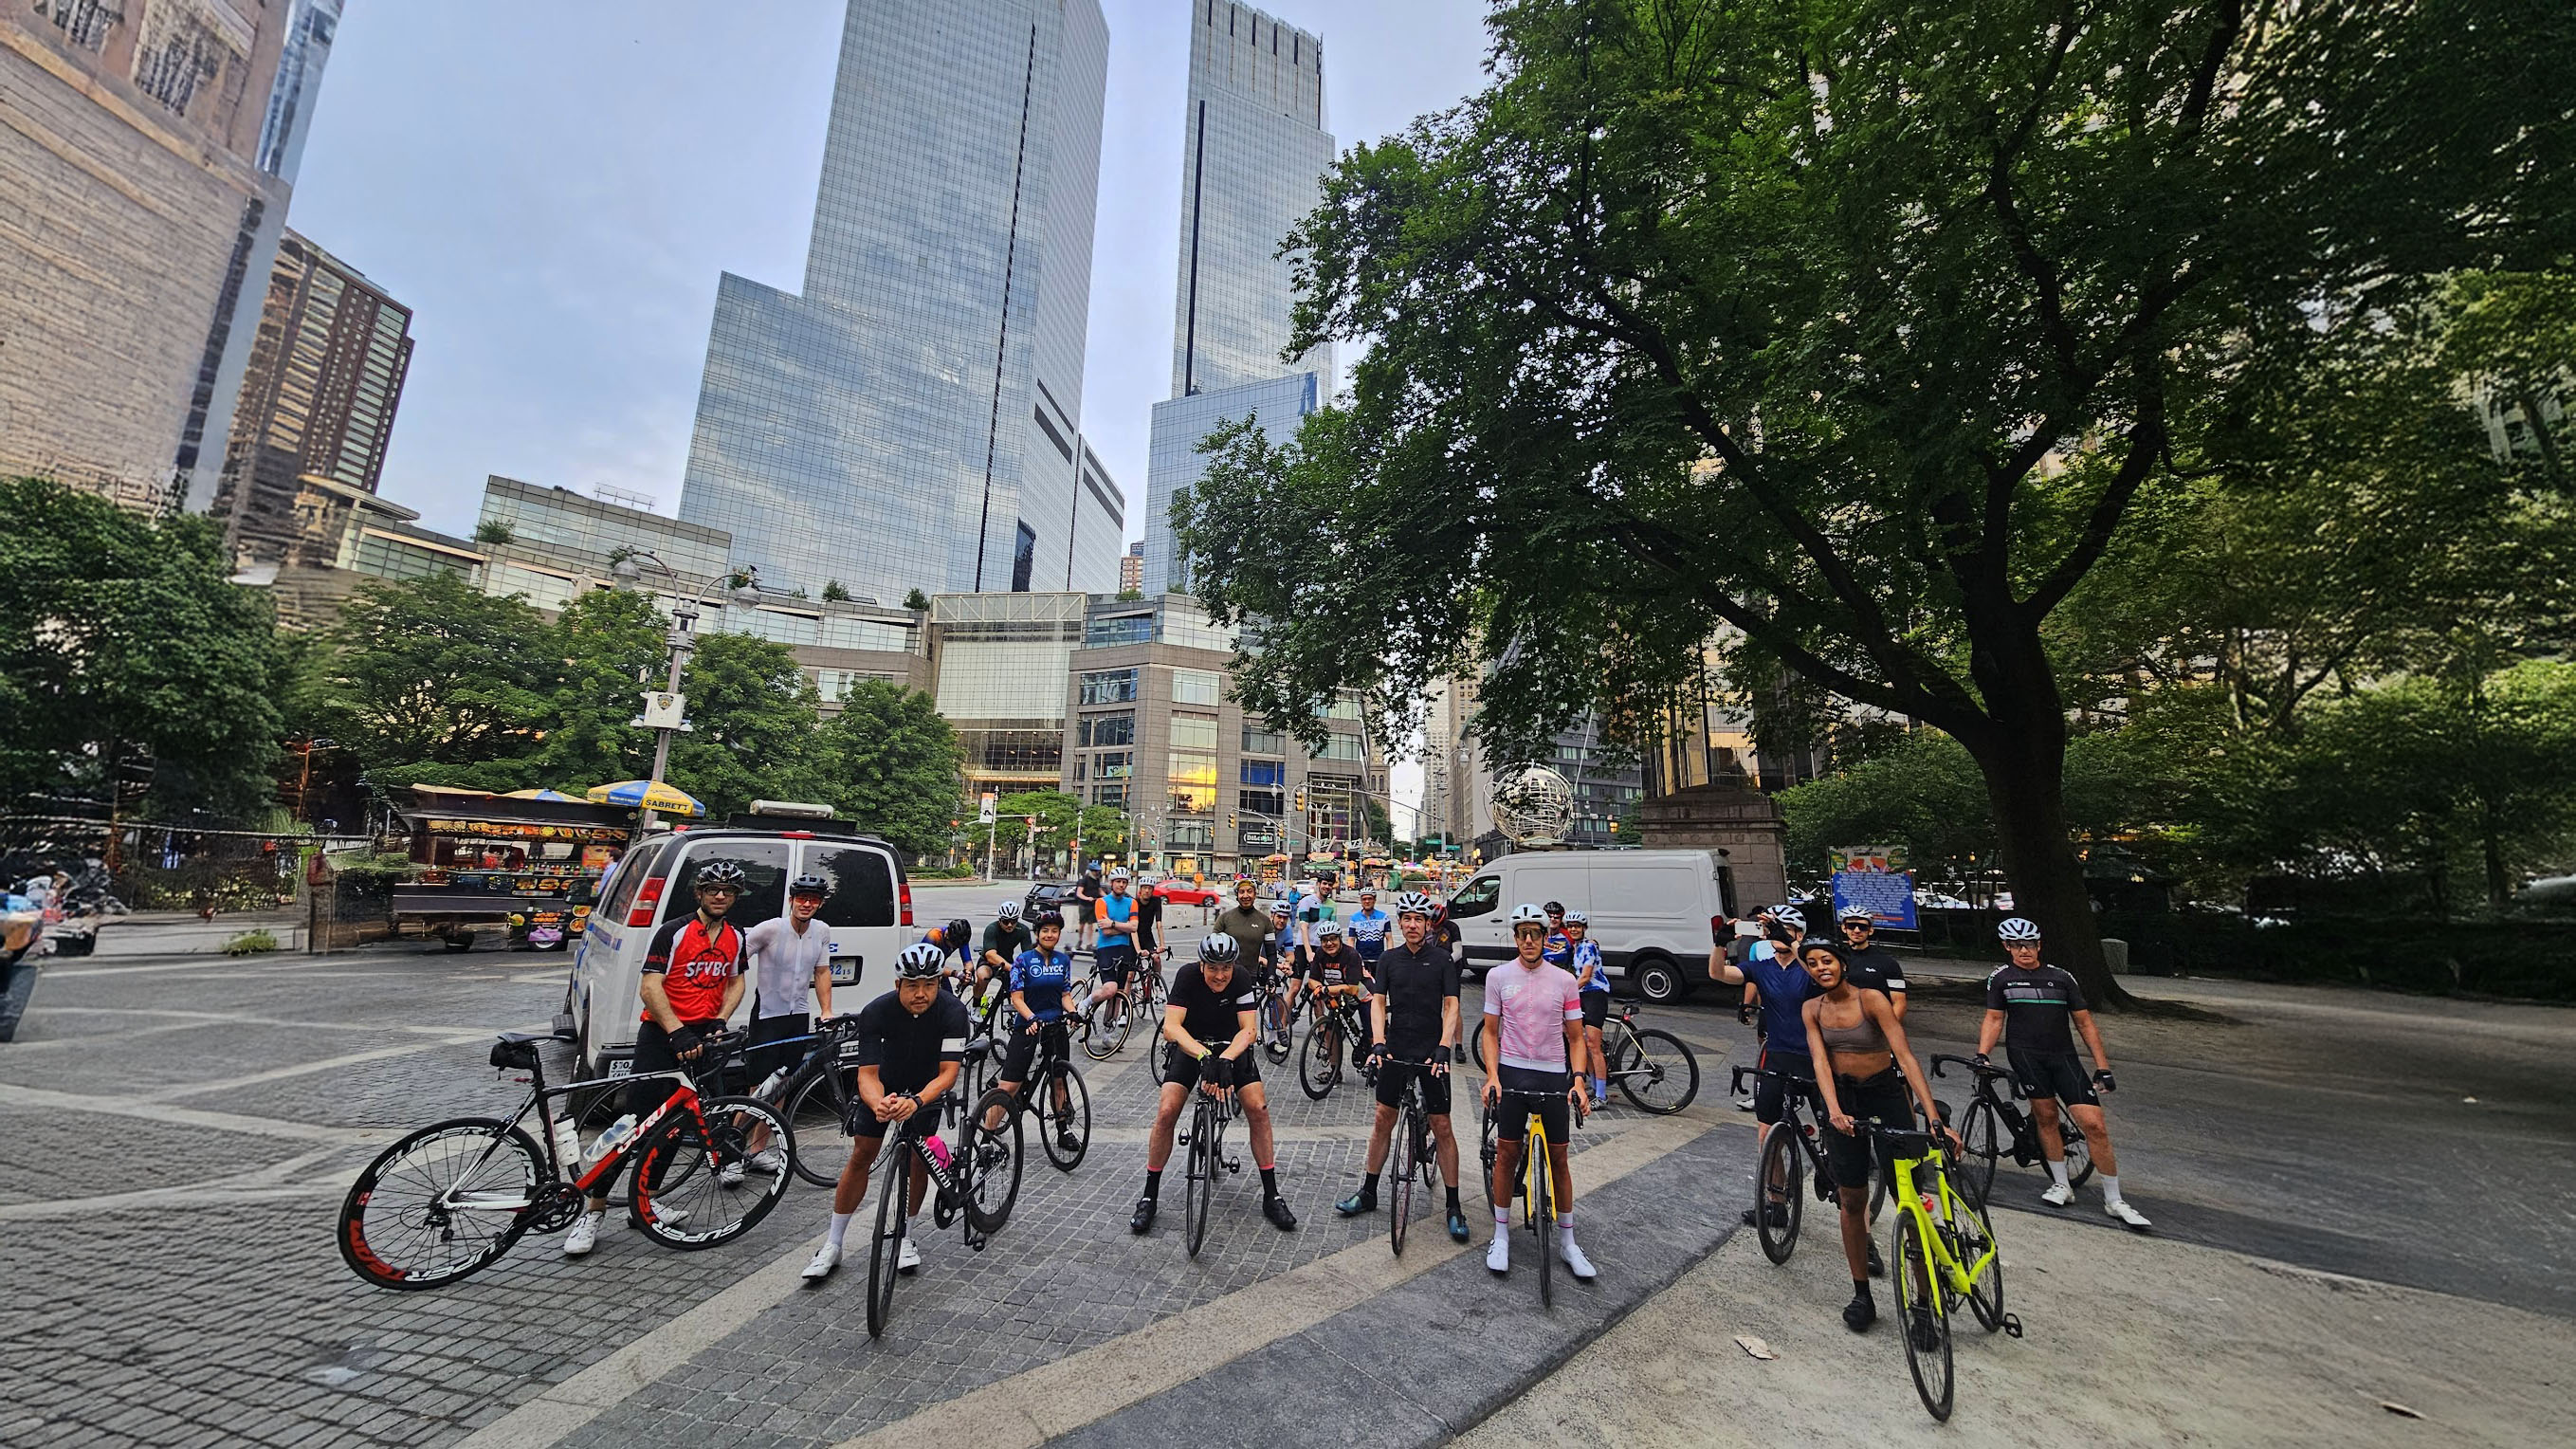
Below please find some guidelines and ground rules for riding laps in Central Park and Prospect Park. These rules have been developed over time and are designed to create predictability and stability in the Park, which can be a dynamic and, at times, crowded environment, especially as the weather gets warmer and there is more daylight.
Be Courteous and Polite to Other Riders and Users of the Park:
It belongs to everyone and it is your job as an NYCC member to maintain our good relationships with pedestrians, runners, and other cyclists. Remember that cyclists’ use of the Park for early morning training is a privilege, not a right, and can be taken away. If you are curious, there is even a Central Park Protocol which the NYCC has endorsed. You can read it here: NYCC CP Protocol.
Be Aware of Your Surroundings:
The Park is used by 3 main constituencies during early morning hours: cyclists, runners, and dog-owners.
Cyclists:
These are generally small groups of riders pacelining and training. They range from experienced and fast (racers) to much less experienced. The groups will ride at average speeds of anywhere from 17-18 up to 20+ mph. As a result, it’s critical for safety that we all follow the same rules.
Dog-Owners:
While dogs are legally allowed to be off-leash in the Park until 9 a.m., leashes are required while crossing the road on which we ride. That said, dogs don’t know the rules and may run onto the road at any time. Be careful and aware of dogs running (chasing balls, squirrels, each other, etc.) on the grass near the road. Owners and dogs will also be crossing the main road at various points, especially near the more popular meadows and the Great Lawn (on the West Side right at the Delacorte at 81st Street, and then again on the East Side on the straightaway after the right bend, at 97th Street).
Stay to the Left of the Center White Line:
This is where you “live” – it is your default safe zone unless you are passing another group or need to avoid a group or obstacle. If it helps, imagine you’re on the autobahn where there is a passing lane and a driving lane. As soon as you are done passing you go back to the driving lane so that faster groups may safely pass you. Related: do not ride the white line, stay just left of it when possible. It’s a bad habit and a dangerous one when wet because the line is more slippery than the asphalt.
Always Pass on the Right Whenever it is Safe to Do So:
The Park has rules like an automobile highway and – just like on highway – predictability and shared knowledge of the rules create safety. unlike a highway, however, do not ever pass on the left unless you cannot avoid it.
Exercise Caution Going Down CP's "Lasker Descent":
The long fast downhill at the north end of the park before Harlem Hill. There is a visitors’ center with lots of tourists; The bottom of the descent can be slick; There is a blind curve; There can be Park service vehicles and workers in the road; It is directly adjacent to the North Woods and a large body of water, meaning there are frequently animals (raccoons, squirrels and even turtles in the Spring) who will be crossing.
CP's Harlem Hill:
Whoever is on the front at the beginning of the Lasker descent (at East 102nd) stays on the front until the top of the climb; in other words, do not rotate from East 102nd until the top of Harlem Hill.
Bring Lights:
Front and back. The back light must be red and steady (not blinking, which can be distracting to the rider behind you).